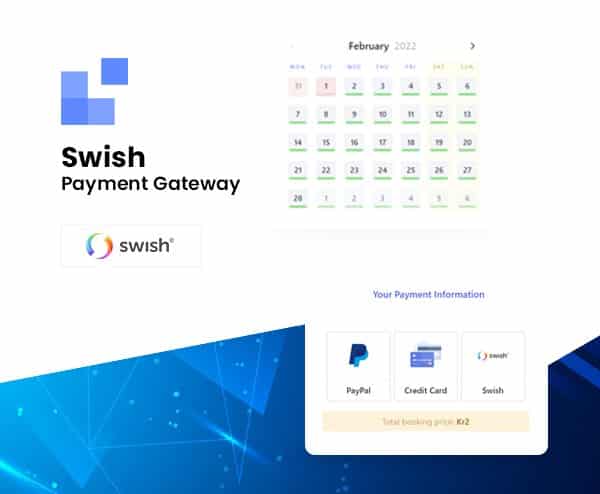
Its Premium Swish Gateway for LatePoint.
Swish Gateway for LatePoint works like any standard WordPress plugin, and once installed and enabled, it will automatically add a Swish to your website which has LatePoint plugin installed and enabled.
As an addition to the plugin, you need the service Swish LatePoint that you order from one of the Swedish banks offering the service. Ask your bank if it does. Swish LatePoint is a special service developed for LatePoint and differs from the normal private “Swish” service and the corporate Swish corporate. Some banks have made it possible to order the service online in their internet bank but most of the banks still require a filled in and signed form to be sent in.
Its works for the following methods.
LOCAL CERTIFICATE
If your bank is not supporting the choice of technical supplier you can create a certificate of your own and place it on your webserver. You will find instructions for doing this in our installation description.
SIMULATOR
If you just want to see what the plugin will look like on your website or if you need to test payments in your staging or test environment you can configure the plugin to simulate payments.
Payment done via the simulator is done by a pre-configured fictive mobile number and will be automatically approved by the system. Because of this, you can not see how the payment will look like in the Swish-app
How to get LOCAL CERTIFICATE from swish
- Order the “Swish Handel” service from your local Swedish bank.
- Generate private key and CSR, at http://portal.swish.nu/company/certificates/ (see https://assets.ctfassets.net/zrqoyh8r449h/70IepbShaTPqL3ZBWPeefP/00fbc0eeed701f67fd93a07d08ee219b/Swish_Certificate_Management_Guide_1.6.pdf)Using Cpanel:
Select “SSL/TLS” at the “Security” section
Select “Private Keys (KEY)”
Scroll down to “Generate a New Private Key” and select the key size of 4096. Type “Swish” in the “Description”-field Click “Generate”
Select “Return to SSL Manager”
Select “Certificate Signing Requests (CSR)”
In the “Key” field select the keyname that you entered creating the keys (in our example it was “Swish”)Enter the following:
Domains: yourwebsite.name
State: State/Province
Country : Sweden
Company: Your company name
Company Division: Department or leave blank
Email: [email protected]
Passphrase: Select password if you want (remember if and enter it in the Payment-Swish admin screen)
Description: A description or leave blankSelect “Generate”
copy the data in the “Encoded Certificate Signing Request”-field and use it at in step 5 below.
Using macOS terminal or Linux via SSH:
$ openssl genrsa -out ./swish.key 4096
$ openssl req -new -sha256 -key ./swish.key -out ./swish.csr
Enter the following:
Country Name (2 letter code) – SE
State or Province Name (full name) – State/Province
Locality Name (eg, city – City
Organization Name (eg, company) – Your company name
Organizational Unit Name (eg, section) – Department or leave blank
Common Name (eg, fully qualified host name) – yourwebsite.name
Email Address – [email protected]
A challenge password – Select password if you want (remember if and enter it in the Payment-Swish admin screen) - Use the data that you copied from Cpanel or the file “swish.CSR” created in the command line to create a swish-certificate at https://comcert.getswish.net/cert-mgmt-web/authentication.html (must be done by a certified person from step 3)
Log in using your (Swedish) personal id, your organization number and your Swish number (starting with 123)
Click on the tab “new certificate”
Paste the contents from Cpanel or your “swish.CSR”-file from step 4 into the field “Paste CSR” and make sure that the format “PEM” is selected.
Click “Generate” to create the certificate.
Copy and paste the certificate data to a file with the ending .pem (in our example swish.pem) - Open your swish.pem file and paste the content from your swish.key file at the top of the file.
Copy everything (including the header and footer) between:
—–BEGIN RSA PRIVATE KEY—–
and
—–END RSA PRIVATE KEY—–
and put it before
—–BEGIN CERTIFICATE—–
—–END CERTIFICATE—–
—–BEGIN CERTIFICATE—–
—–END CERTIFICATE—–
—–BEGIN CERTIFICATE—–
—–END CERTIFICATE—– - Place the certificate file somewhere in your server filesystem.
Use FTP or filemanager in cpanel if avaliable.
Make a note of the full file path and name of your certificate. - Configure and activate the plugin.
Select “Use local Swish certificate” as your connection preference
Input the location of the certificate from step 7.
If you did create the certificate in step 4 using a password, you need to input this on the configuration screen
Input your Swish number (starting with 123)
Change the rest of the configuration parameters as you wish.
Save the settings. - Make a test payment to ensure that everything is working as it should.
If you need any assistance in setup the swish payment gateway. We will help you to set up it. And for it, We will charge you a minimal $30 service fee.


